

Hey there! I'm a supplier of cover plates, and today I wanna chat about a question I often get: "Can I paint a cover plate?"
Let's start with the basics. Cover plates are those handy little things that you often find in various mechanical and electrical setups. They're used to protect components, hide unsightly parts, and sometimes even add a bit of style to the overall look. But can you paint them? Well, the short answer is yes, you can. But there are a few things you need to consider before you start slapping on the paint.
Why You Might Want to Paint a Cover Plate
First off, let's talk about why you'd even want to paint a cover plate. One of the most common reasons is aesthetics. Maybe you're working on a custom project, and you want the cover plate to match the color scheme of the rest of the equipment. Or perhaps you're trying to brand a piece of machinery, and you need the cover plate to have your company's colors.
Another reason could be protection. A good coat of paint can act as a barrier against corrosion, especially if the cover plate is made of metal. This can extend the lifespan of the cover plate and keep it looking good for longer.
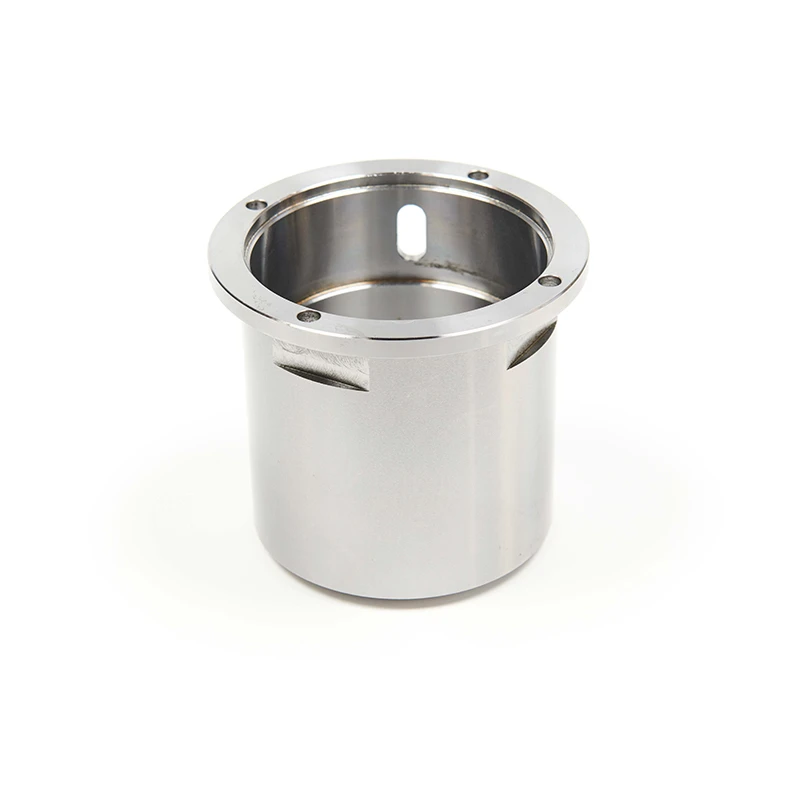

What to Consider Before Painting
Before you start painting, you need to think about the material of the cover plate. Different materials require different types of paint and preparation methods.
-
Metal Cover Plates: Metal cover plates are probably the most common type. If you're painting a metal cover plate, you'll need to start by cleaning it thoroughly to remove any dirt, grease, or rust. You can use a degreaser and a wire brush for this. After cleaning, you should apply a primer. A primer helps the paint adhere better to the metal and provides an extra layer of protection against corrosion. There are different types of primers available, so make sure you choose one that's suitable for the type of paint you'll be using. For example, if you're using an oil-based paint, you'll need an oil-based primer. Once the primer is dry, you can apply the paint. It's a good idea to apply multiple thin coats rather than one thick coat to get a smooth finish.
-
Plastic Cover Plates: Painting plastic cover plates can be a bit trickier. Plastic is a non-porous material, which means paint doesn't adhere to it as well as it does to metal. You'll need to use a special plastic primer or a paint that's specifically designed for plastic. Before applying the primer or paint, you should sand the plastic cover plate lightly to create a rough surface for the paint to grip onto. This will help the paint adhere better.
-
Wooden Cover Plates: Wooden cover plates are less common but still used in some applications. If you're painting a wooden cover plate, you'll need to sand it first to smooth the surface and remove any splinters. You can then apply a wood primer to seal the wood and help the paint adhere. After the primer is dry, you can apply the paint. You might also want to consider using a clear topcoat to protect the paint and give the cover plate a nice finish.
The Painting Process
Once you've prepared the cover plate, it's time to start painting. Here's a step-by-step guide:
-
Choose the Right Paint: As I mentioned earlier, the type of paint you choose depends on the material of the cover plate. You can choose from a variety of paints, including acrylic, enamel, and oil-based paints. Acrylic paints are easy to use, dry quickly, and are available in a wide range of colors. Enamel paints are more durable and have a high-gloss finish. Oil-based paints take longer to dry but provide a very tough and long-lasting finish.
-
Prepare Your Workspace: Make sure you're working in a well-ventilated area. You can use a drop cloth to protect the surrounding area from paint splatters.
-
Apply the Primer: If you're using a primer, apply it evenly to the cover plate using a brush or a spray gun. Let the primer dry completely according to the manufacturer's instructions.
-
Apply the Paint: You can apply the paint using a brush, a roller, or a spray gun. If you're using a brush or a roller, make sure you apply the paint in thin, even coats. If you're using a spray gun, hold it about 6-8 inches away from the cover plate and move it in a smooth, even motion. Apply multiple thin coats of paint, allowing each coat to dry before applying the next one.
-
Let the Paint Dry: Once you've applied all the coats of paint, let the cover plate dry completely. This can take anywhere from a few hours to a few days, depending on the type of paint you're using.
Other Considerations
-
Compatibility with Other Components: If the cover plate is part of a larger system, you need to make sure the paint you use is compatible with the other components. For example, some paints can release chemicals that can damage rubber seals or other sensitive parts.
-
Regulations and Standards: In some industries, there are regulations and standards regarding the use of paint on equipment. Make sure you're aware of these regulations and choose a paint that complies with them.
Related Products
If you're in the market for other related products, we also offer Shaft Sleeve and Spacer. These products are manufactured with high-quality materials and precision machining processes to ensure they meet your needs. You can also check out our Shaft Sleeve for more details.
Contact Us for Purchase
If you're interested in our cover plates or have any questions about painting them, feel free to reach out to us. We're here to help you find the right solution for your needs. Whether you're a small business or a large corporation, we can provide you with high-quality cover plates at competitive prices.
References
- "Painting Metal Surfaces" - DIY Home Improvement Guide
- "Painting Plastic: A Comprehensive Guide" - Plastics Manufacturer's Handbook
- "Wood Finishing and Painting" - Woodworking Magazine